Grout can make an otherwise clean tiled surface look dull, stained, or poorly maintained. Even when the tile itself looks bright, dark grout lines can change the appearance of an entire bathroom, kitchen, hallway, or entryway.
The challenge is that grout and tile do not always respond to cleaning in the same way. Many traditional cement-based grout joints can hold soil and residue more readily than glazed tile, while the surrounding surface may have its own cleaning restrictions.
Learning How to Clean Grout therefore starts with identifying the type of buildup you are dealing with instead of immediately reaching for the strongest cleaner available.
Bathroom grout commonly collects soap residue and moisture-related buildup. Kitchen grout may hold grease and food residue, while floor grout can gradually darken as soil and contaminated mop water settle into the joints.
This guide explains the best way to clean grout step by step, how to approach bathroom, kitchen, and floor grout, which DIY methods require caution, the mistakes that make grout harder to maintain, and when cleaning alone is no longer enough.
Why Does Grout Get Dirty So Quickly?
Grout fills the narrow joints between tiles, and depending on the grout system used, its surface may hold dirt and residue more easily than the tile around it.
Different rooms also create different types of contamination.
Bathroom grout may be exposed to:
Water and humidity.
Soap residue.
Body oils.
Hair and cosmetic products.
Poor ventilation.
Kitchen grout may collect:
Cooking grease.
Food spills.
Dust that sticks to oily residue.
Cleaning-product buildup.
Floor grout often deals with:
Soil tracked indoors.
Dust.
Pet debris.
Dirty mop water.
Residual detergent.
Understanding what caused the discoloration is important because grease, ordinary soil, soap residue, and recurring moisture problems do not always respond to the same method.
This is one of the most important grout cleaning tips to remember: diagnose the problem before choosing the cleaner.
How to Clean Grout Without Damaging Tile
The safest starting point is usually the least aggressive method that can remove the buildup.
Before adding water or cleaner, remove loose debris. On floors, vacuuming or sweeping first prevents dry soil from turning into dirty liquid that can settle deeper into the grout lines.
Then inspect the tile around the grout. Ceramic, porcelain, natural stone, polished surfaces, sealers, and specialty finishes can have different maintenance requirements.
Follow these basic rules:
Begin with warm water or a mild cleaner suitable for the grout and tile.
Use a nylon grout brush rather than a metal brush.
Test unfamiliar products in a hidden area.
Follow the manufacturer’s dilution and contact-time instructions.
Work in manageable sections.
Remove loosened dirt and contaminated cleaning solution.
Rinse when the product instructions require it.
Let the grout dry before judging the final color.
Never mix household cleaning products.
The Tile Council of North America specifically emphasizes removing contaminated cleaning water from grout rather than simply moving dirty water over the surface. This helps explain why repeated mopping does not always improve dark grout lines.Read the TCNA guidance on cleaning grout.
How to Clean Grout Step by Step
For normal household dirt, you usually do not need to begin with aggressive chemicals.
Step 1: Remove Loose Dirt
Vacuum or sweep the tiled surface thoroughly.
Pay extra attention to:
Corners.
Wall edges.
Grout joints.
Areas under movable furniture.
High-traffic zones.
Starting with a dry surface prevents loose soil from becoming muddy residue when cleaner is applied.
Step 2: Apply a Mild Grout-Compatible Cleaner
Apply warm water or a cleaning product suitable for both the grout and surrounding tile.
Work in small sections instead of covering the entire floor or shower at once. This gives you enough time to scrub and remove loosened soil before the solution dries.
Step 3: Allow the Product to Work
If the manufacturer’s instructions specify a contact time, allow the cleaner to remain on the surface for the recommended period.
More time is not automatically better. Leaving a product on longer than directed can expose the surface to unnecessary chemicals and may allow loosened residue to dry again.
Step 4: Scrub the Grout Lines
Use a nylon grout brush and controlled pressure.
Work along the grout joint rather than aggressively scrubbing the entire tiled surface.
For stubborn areas, repeat the process instead of immediately switching to an excessively abrasive tool.
Step 5: Remove the Dirty Cleaning Solution
This step is easy to overlook.
Once dirt has been loosened, wipe, extract, or otherwise remove the contaminated solution instead of allowing it to remain on the grout.
If you are cleaning floors, replace rinse or mop water once it becomes visibly dirty.
Step 6: Let the Grout Dry Completely
Wet grout can appear significantly darker than dry grout.
Allow the area to dry before deciding whether another cleaning pass is actually necessary.
For many households, this gradual process is the best way to clean grout because it removes ordinary buildup without automatically exposing the grout or surrounding tile to stronger products.
How to Clean Bathroom Grout
Bathroom grout often needs special attention because moisture and product residue can remain on the surface for long periods.
Before cleaning:
Remove bottles, mats, and loose bathroom items.
Ventilate the area when possible.
Remove loose debris or hair.
Identify areas where moisture remains after normal use.
Apply a grout-compatible cleaner in small sections and use a nylon brush to work along the joints.
Pay particular attention to:
Shower corners.
Grout near the tub.
Areas around fixtures.
Lower shower walls.
Floor joints where water remains.
After cleaning, remove the dirty solution and rinse if required by the product instructions.
Regularly drying shower surfaces with a squeegee or microfiber cloth can also reduce the amount of moisture left behind after use.
What If Dark Spots Keep Returning?
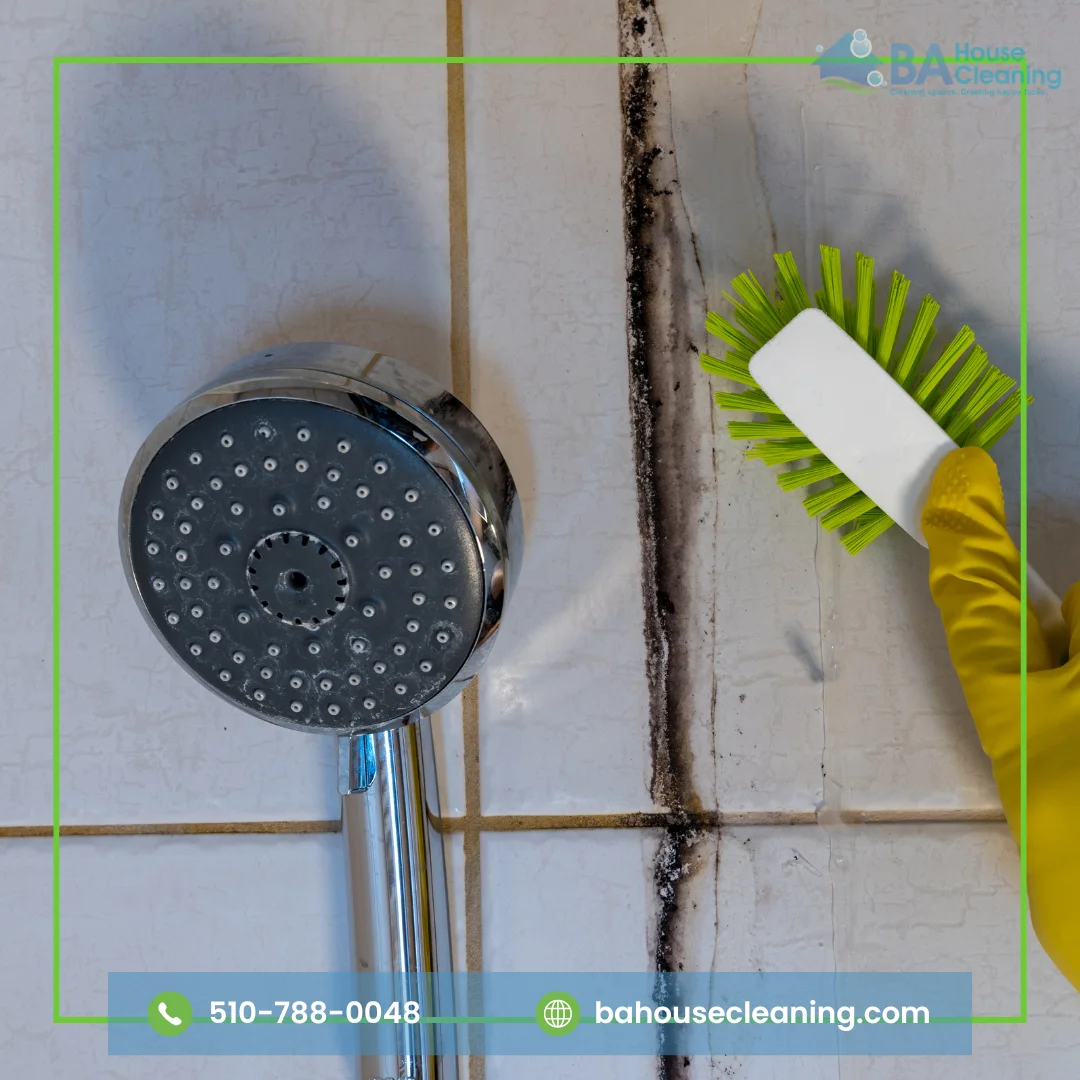
Repeated dark spotting may indicate more than ordinary dirt.
Moisture control is an important part of mold prevention. EPA guidance recommends cleaning visible mold and addressing the underlying moisture problem rather than treating the visible surface alone.See the EPA guide to mold and moisture.
Check for:
Plumbing leaks.
Failed caulking.
Poor ventilation.
Standing water.
Areas that remain wet for long periods.
Cleaning can improve the appearance of sound grout, but it cannot correct an unresolved water problem.
How to Clean Kitchen Grout
Kitchen grout has a different challenge: grease.
Airborne cooking residue and food spills can create a sticky film that traps dust and makes grout appear progressively darker.
When learning How to Clean Grout in a kitchen, focus on removing grease rather than simply scrubbing harder.
Use a product that is compatible with both the grout and surrounding tile and designed to address greasy buildup.
A practical process is:
Remove loose crumbs and dirt.
Apply the appropriate cleaner.
Allow the recommended contact time.
Scrub with a nylon brush.
Remove loosened grease and dirty solution.
Rinse if required.
Dry the area.
Promptly wiping oil, sauces, and food spills also reduces the amount of intensive grout cleaning required later.
How to Clean Floor Grout That Has Turned Dark
Dark grout between floor tiles does not always mean the grout is permanently stained.
In many homes, the discoloration is a combination of:
Tracked-in soil.
Repeated mopping.
Dirty rinse water.
Detergent residue.
High foot traffic.
Start by vacuuming thoroughly.
Then apply a suitable cleaner to a small section, scrub the grout lines, and remove the contaminated solution before moving to the next area.
Avoid the Dirty Mop Water Problem
One of the most common floor-cleaning mistakes is continuing to mop after the water has become heavily soiled.
At that point, dirt may simply be redistributed across the floor and back into the grout joints.
Change the water as needed and avoid using more detergent than the product requires.
If your grout surrounds porcelain tile, remember that the grout and tile are different materials. OurPorcelain Tile Cleaning Guide explains how to maintain porcelain surfaces while avoiding unnecessary residue and abrasion.
Can Baking Soda Clean Grout?
Baking soda is commonly used as a DIY grout cleaner because it can be formed into a paste that stays in narrow or vertical grout lines.
For light surface soil, it may provide mild mechanical cleaning action.
If you choose to try it:
Test a small hidden area first.
Use gentle pressure.
Avoid aggressive abrasion.
Remove residue thoroughly.
Consider the surrounding tile before using any abrasive material.
Baking soda is not automatically the right choice for every surface.
For more information about where it can and cannot be useful around the home, see our guide toCleaning With Baking Soda.
Can You Use Hydrogen Peroxide on Grout?
Hydrogen peroxide appears frequently in DIY grout-cleaning recommendations, particularly for localized discoloration. When learning How to Clean Grout, however, it is important not to assume that a commonly recommended household product is suitable for every grout, sealer, or tile system.
Before using hydrogen peroxide:
Check the tile manufacturer’s care recommendations when available.
Test a hidden area first.
Avoid mixing it with other household cleaning chemicals.
Rinse or remove residue as appropriate.
A controlled approach is safer than combining multiple ingredients in an attempt to create a stronger homemade cleaner. The goal of How to Clean Grout is to remove buildup effectively while protecting both the grout and the surrounding tile.
Is Vinegar Safe for Cleaning Grout?
Vinegar is acidic, so it should not automatically be used on every tiled installation.
Its suitability depends on:
The grout.
The grout sealer.
The tile.
Nearby stone surfaces.
Manufacturer recommendations.
Natural stone requires particular caution because acids may react with some stone materials.
If you are unsure what type of tile or grout you have, begin with a mild nonacidic cleaner designed for tile and grout rather than defaulting to vinegar.
Can You Use Bleach on Grout?
Bleach-containing products may have specific uses, but ordinary dirt does not automatically require bleach.
If you decide to use a bleach product:
Read the label first.
Confirm that it is suitable for the surface.
Use ventilation as directed.
Wear any protection specified on the label.
Follow dilution instructions exactly.
Never combine it with another cleaner.
The CDC warns that household bleach and disinfectants should not be mixed with other cleaners because dangerous vapors may be released.Review CDC bleach safety guidance.
Never mix bleach with ammonia, acids, vinegar, or other household cleaners.
The goal of grout cleaning is to use the appropriate product safely, not to create the strongest chemical combination possible.
How to Clean Mold-Like Discoloration on Grout
Dark spotting in showers or damp tiled areas can sometimes return shortly after cleaning.
If this happens, look beyond the visible stain.
For small areas on hard washable surfaces, EPA guidance recommends cleaning the surface and drying it completely while also correcting the water or moisture source.
Possible causes include:
Poor bathroom ventilation.
Plumbing leaks.
Water trapped around fixtures.
Damp areas that do not dry between uses.
If discoloration repeatedly returns, affects a large area, appears behind damaged material, or is associated with an ongoing leak, routine household cleaning may not be enough.
Is Steam Cleaning Good for Grout?
Steam can help loosen some types of soil on compatible tiled surfaces and may reduce the need for repeated manual scrubbing across larger areas.
However, steam should not automatically be used on every installation.
Before using a steam cleaner, check:
Tile manufacturer recommendations.
Grout type.
Sealer compatibility.
Nearby materials.
Steam-cleaner instructions.
Steam is a tool, not a universal solution.
If the surface or installation is unsuitable for heat and moisture, another method may be more appropriate.
Common Grout Cleaning Mistakes
Knowing How to Clean Grout also means knowing what not to do.
Starting With the Strongest Cleaner
Stronger does not automatically mean more effective.
If ordinary soil responds to a mild cleaner, harsher chemicals provide little benefit and may create unnecessary risk for the grout, sealer, or tile.
Mixing Cleaning Products
This is one of the most important mistakes to avoid.
Never combine products simply because they are both marketed for cleaning.
The American Cleaning Institute advises using products according to their labels and not mixing household cleaners because ingredients may react dangerously.
Using a Metal Brush
Metal brushes can be unnecessarily aggressive for routine grout cleaning and may damage surrounding surfaces.
Start with a nylon grout brush.
Ignoring the Tile Around the Grout
You cannot clean grout without exposing the surrounding tile to the same cleaner.
Always consider both materials.
Using Too Much Cleaner
More detergent does not necessarily produce a cleaner surface.
Excess product may leave residue that attracts additional soil.
Leaving Dirty Water Behind
Loosening soil is only half the process.
Remove the contaminated water so the dirt does not settle back into the joints.
Instead of waiting until grout becomes heavily discolored, include it in routine maintenance.
Vacuum floors before mopping, wipe kitchen spills promptly, remove bathroom moisture, and pay attention to areas where residue accumulates first.
Preventive maintenance is easier than trying to restore months of buildup.
How to Keep Grout Clean for Longer
After you have cleaned the grout, a few habits can reduce how quickly it becomes dirty again.
Vacuum Before Mopping
Removing dry soil first prevents it from becoming suspended in mop water and settling into the joints.
Change Dirty Water
If your cleaning water becomes visibly dirty, replace it.
Wipe Spills Quickly
Food, oil, cosmetics, and muddy water become harder to remove after they dry.
Keep Bathrooms Dry
Use ventilation and remove excess water after showers when practical.
Avoid Excess Detergent
Using too much cleaner can leave residue on the surface.
Follow Sealer Recommendations
If your grout system uses a sealer, follow the manufacturer’s maintenance and reapplication instructions rather than assuming every grout requires the same treatment.
These habits make future cleaning easier and reduce the need for aggressive restoration methods.
When Grout Needs Repair Instead of Cleaning
Sometimes the correct solution is not another cleaning product.
Inspect the grout closely if you notice:
Cracks.
Missing sections.
Crumbling material.
Powdery grout.
Separation from tile edges.
Persistent moisture damage.
Discoloration that does not improve after appropriate cleaning.
Cleaning removes soil from a sound surface.
It cannot rebuild deteriorated grout.
Depending on the problem, the area may require:
Resealing.
Recoloring.
Grout repair.
Regrouting.
Moisture or plumbing repair.
Recognizing this difference prevents endless scrubbing when the real problem is structural or material-related.
DIY Grout Cleaning vs Professional Deep Cleaning
Small bathrooms, splashbacks, and localized areas can often be handled with routine DIY cleaning.
Professional cleaning becomes more practical when:
Grout is heavily soiled across a large floor.
Several tiled rooms require attention.
Bathroom or kitchen buildup has accumulated for a long time.
Routine cleaning is no longer restoring the surrounding room.
You need grout cleaning as part of a broader home reset.
BA House Cleaning providesDeep Cleaning Services in Oakland and surrounding Bay Area communities for homes that need more detailed attention than routine maintenance.
Professional house cleaning is not the same as grout repair. If the joints are missing, cracked, loose, or affected by an unresolved water problem, a qualified tile, grout, plumbing, or restoration professional may be more appropriate.
Quick Grout Cleaning Checklist
Before you start, use this simple checklist:
Step
What to Do
1. Identify the buildup
Decide whether you are dealing with dirt, grease, residue, or recurring moisture
2. Check the surface
Consider both the grout and surrounding tile
3. Remove loose soil
Sweep or vacuum before adding water
4. Start mild
Begin with warm water or a compatible cleaner
5. Scrub carefully
Use a nylon grout brush
6. Remove dirty solution
Do not let loosened soil dry back into the joints
7. Rinse if needed
Follow the product instructions
8. Allow to dry
Judge the grout only after it has dried completely
9. Escalate carefully
Use stronger methods only when appropriate
10. Check for damage
Stop cleaning if the problem is actually deterioration or moisture damage
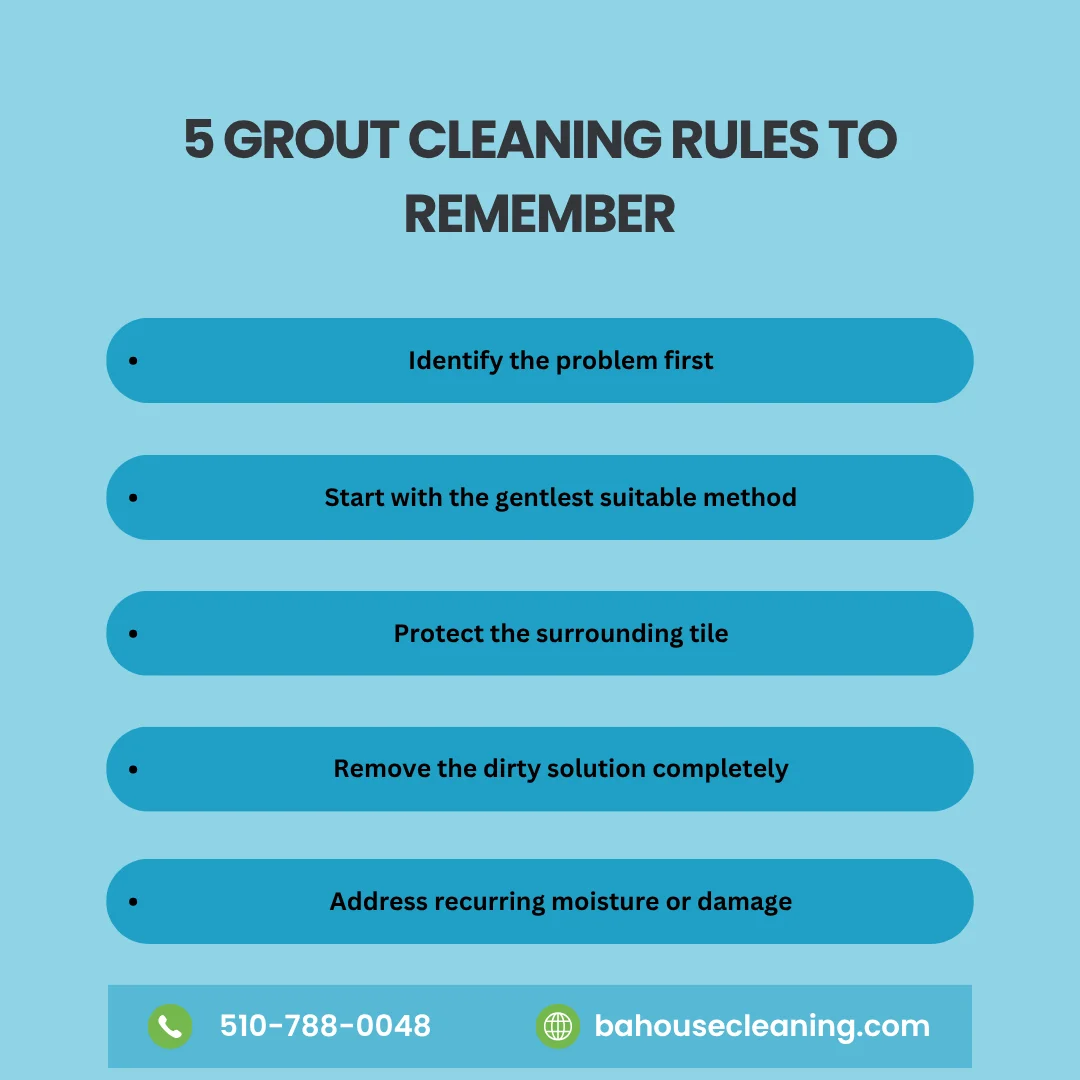
5 Grout Cleaning Rules Worth Remembering
If you remember nothing else from this guide, remember these five rules.
Identify the problem before choosing the cleaner. Ordinary soil, grease, soap residue, and moisture-related discoloration may require different approaches.
Start with the gentlest suitable method. Strong chemicals should not automatically be the first step.
Protect the surrounding tile. Every product used on grout will also contact the surface around it.
Remove the dirty solution. Do not loosen dirt only to let contaminated water dry back into the joints.
Recognize when cleaning is not enough. Recurring moisture, cracks, missing grout, or deterioration require a different solution.
These principles turn grout cleaning from trial and error into a repeatable process.
Keep Tile and Grout Looking Cleaner for Longer
The best answer to How to Clean Grout is not a miracle ingredient or one aggressive chemical.
It is a process.
Remove loose dirt first. Identify the type of buildup. Choose a product that is compatible with both grout and tile. Work in manageable sections. Scrub with the right tool. Remove contaminated cleaning solution, and only increase cleaning strength when the condition actually requires it.
Bathroom grout benefits from moisture control. Kitchen grout needs early attention to grease and spills. Floor grout stays cleaner when dry soil is removed before mopping and dirty water is changed frequently.
And if your grout is only one part of a home that needs more detailed attention, BA House Cleaning’sHouse Cleaning Services andDeep Cleaning Services can help with a broader professional cleaning reset.
Correct grout care makes the entire tiled surface look brighter, cleaner, and better maintained without relying on unnecessary chemical strength.
Ready to give your home a deeper, more detailed clean? Contact BA House Cleaning today to discuss your cleaning needs and schedule a professional service in Oakland and the surrounding Bay Area.
Frequently Asked Questions About How to Clean Grout
What is the easiest way to clean grout?
If you are learning How to Clean Grout, the easiest starting point is to remove loose dirt, apply warm water or a mild grout-compatible cleaner, scrub with a nylon brush, remove the dirty solution, and allow the grout to dry. Increase cleaning strength only if ordinary buildup remains.
What is the best way to clean really dirty grout?
The best approach to How to Clean Grout when the joints are heavily soiled is to first determine whether the discoloration comes from dirt, grease, residue, or moisture. Use a suitable grout cleaner according to the label, allow the recommended contact time, scrub carefully with a nylon brush, and remove the contaminated cleaning solution completely.
How do you clean grout lines without damaging tile?
When following a How to Clean Grout routine, choose a product that is suitable for both the grout and surrounding tile. Test it in an inconspicuous area, avoid metal brushes, and begin with the least aggressive method likely to work.
Can baking soda clean grout?
Baking soda may help with light surface buildup, but it is mildly abrasive and is not ideal for every tile or grout system. If you include baking soda in your How to Clean Grout method, test a hidden area first and remove all residue after cleaning.
Is vinegar safe for grout?
Not always. Vinegar is acidic and may be unsuitable for certain grout, sealers, and especially acid-sensitive stone surfaces. A mild nonacidic grout-compatible cleaner is a safer starting point when you are unsure about the materials.
Can bleach be used to clean grout?
Some bleach-containing products may be suitable for specific surfaces and uses, but bleach is not necessary for ordinary dirt. Follow the label carefully and never mix bleach with other cleaning products.
How do I clean bathroom grout?
For How to Clean Grout in bathrooms, remove loose residue, ventilate the room, apply an appropriate cleaner to small sections, scrub with a nylon brush, remove the dirty solution, and dry the area. If dark spotting repeatedly returns, investigate the moisture source.
How do I clean grout between floor tiles?
Vacuum or sweep first, apply a suitable cleaner in manageable sections, scrub the grout lines, remove the dirty solution, and replace rinse or mop water when it becomes visibly contaminated.
Can you steam clean grout?
Steam may help loosen dirt on some compatible tiled surfaces, but it is not suitable for every grout, tile, sealer, or installation. Check the relevant manufacturer instructions before using steam.
Why does my grout stay dark after cleaning?
The grout may still be wet, permanently discolored, coated with residue, worn, damaged, or affected by recurring moisture. Allow it to dry completely before deciding whether additional cleaning is necessary.
When should grout be replaced instead of cleaned?
Consider repair or regrouting when joints are cracked, missing, loose, crumbling, powdery, or affected by persistent moisture damage. Cleaning cannot restore grout that has physically deteriorated.