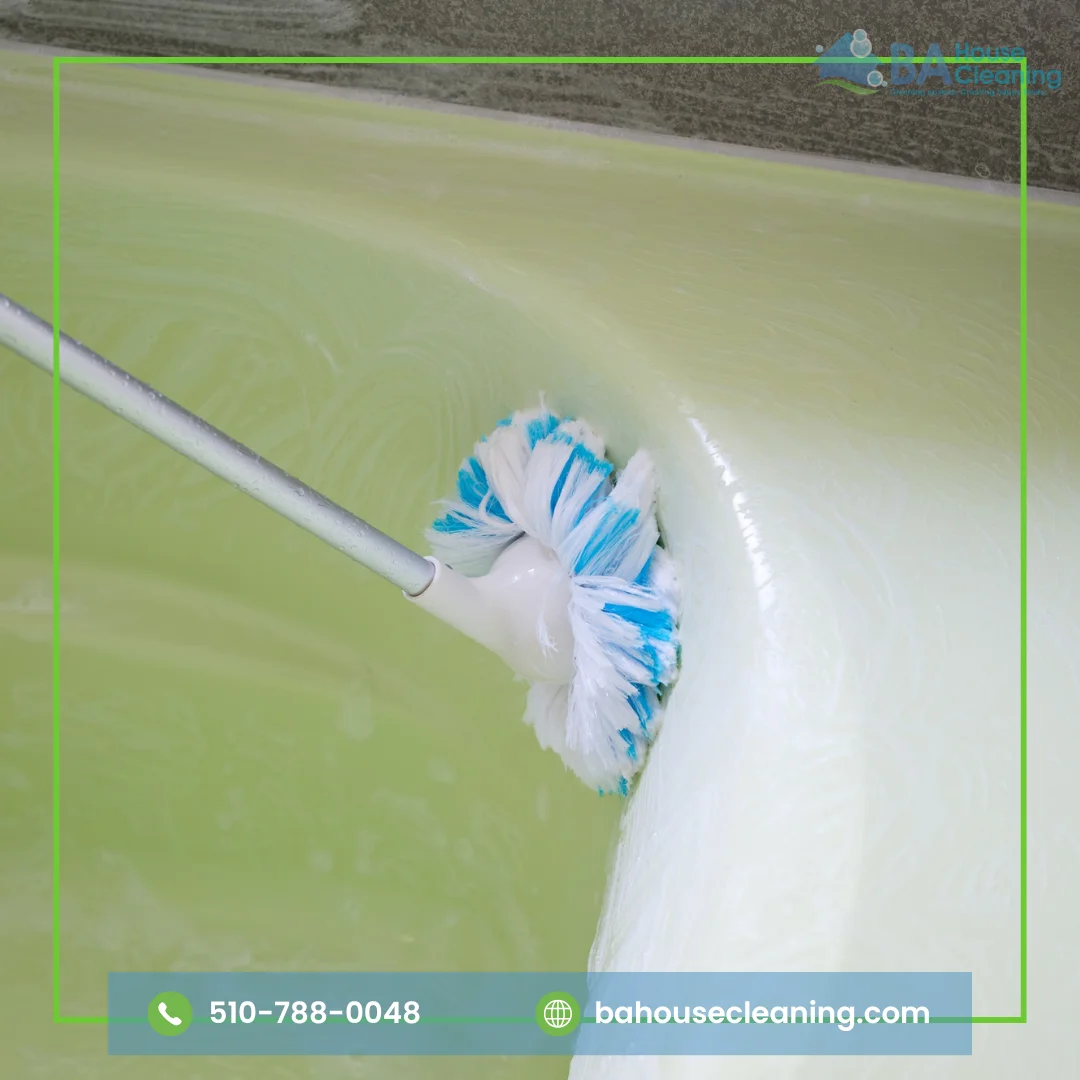
To clean a bathtub, remove loose hair and products, rinse the surface with warm water, apply a cleaner that is safe for the tub material, gently scrub with a non-abrasive sponge, rinse thoroughly, and dry the tub. Acrylic, fiberglass, porcelain, enamel, and natural stone tubs can require different cleaning methods, so always check the manufacturer’s care instructions before using a stronger product.
How to Clean a Bathtub Step by Step
The most effective way to clean a bathtub is to remove loose debris first, clean from top to bottom, gently treat buildup, and finish by rinsing and drying the entire surface.
Remove Everything From the Tub
Take shampoo bottles, soap, bath toys, mats, accessories, and other items out of the bathtub.
Removing everything gives you access to the complete surface and prevents residue from remaining underneath containers and mats.
Check the tub ledges, corners, and the area around the faucet because these spots often collect product residue that is easy to miss during a quick cleaning.
Remove Hair and Loose Debris
Remove visible hair, dirt, and loose debris from the bathtub and drain area before adding water or cleaner.
Wear gloves and remove loose material by hand when practical. Do not push hair farther into the drain, especially when the water is already draining slowly.
A dirty drain cover can make a clean bathtub look unfinished, so include it in the cleaning process.
Rinse the Surface
Rinse the bathtub, walls, ledges, corners, and fixtures with warm water to loosen fresh soap residue and surface dirt.
Rinsing does not replace cleaning, but it helps remove loose material before you apply the cleaner and prevents you from scrubbing dry debris across the finish.
Apply a Bathtub-Safe Cleaner
Use mild liquid soap or a bathroom cleaner specifically labeled as safe for the bathtub material.
For unfamiliar surfaces, follow the manufacturer’s cleaning instructions before choosing an acidic, abrasive, or heavily concentrated product. KOHLER’s acrylic-bath guidance, for example, recommends a soft damp sponge or cloth and warns against abrasive materials such as brushes and scouring pads.
Apply the cleaner according to the product label. More powerful does not necessarily mean better when the goal is to protect the finish.
Let the Cleaner Work
Allow the cleaner to loosen soap film or other buildup for the amount of time recommended on the product label.
Avoid allowing a cleaning product to dry on the bathtub unless its instructions specifically permit it.
If the first application does not remove the buildup, repeat the process rather than immediately using a harsher scrubber.
Scrub Gently
Use a soft sponge, microfiber cloth, or other non-abrasive tool that is appropriate for the bathtub finish.
Work in small sections and use light pressure. Pay extra attention to:
The waterline
Lower tub walls
Corners
Ledges
Around the faucet
Around the drain
The overflow plate
Areas underneath bottles
Caulk and grout joints
The goal is to loosen residue, not to remove it through aggressive abrasion.
Rinse Thoroughly
Rinse until the cleaning product and loosened residue are completely removed.
Cleaner left on the surface can contribute to a cloudy or streaked appearance, so rinse more than once when necessary.
Inspect the bathtub under good lighting after rinsing. Remaining discoloration may be mineral buildup, soap residue, rust, or damage to the finish.
Dry the Tub
Dry the bathtub with a clean microfiber cloth, including the ledges, fixtures, corners, and areas around the drain.
Wiping away remaining water helps reveal mineral deposits and makes routine maintenance easier. Manufacturer care guidance for acrylic baths also recommends wiping the surface after use.
What Do You Need to Clean a Bathtub?
A basic bathtub-cleaning kit only needs a few practical supplies: gloves, warm water, mild soap or a material-approved cleaner, a soft sponge or microfiber cloth, and a small soft brush for narrow areas.
Cleaning Supply
Best Use
Microfiber cloth
Wiping and drying
Soft sponge
Cleaning the basin and walls
Mild liquid soap
Routine surface cleaning
Soft nylon brush
Corners and textured areas
Small soft brush
Drain covers and narrow joints
Gloves
Hand protection
Material-approved cleaner
Heavier soap scum or mineral buildup
You do not need a collection of aggressive chemicals to maintain a bathtub. Choosing the right cleaner for the finish is more important than using the strongest product available.
How to Choose the Right Bathtub Cleaner
The right bathtub cleaner depends on the material, the type of buildup, and the manufacturer’s care instructions.
A product that is safe for one tub can be unsuitable for another. Acrylic and fiberglass, for example, are more vulnerable to scratching from abrasive tools, while natural stone may be sensitive to acidic products.
When you are unsure, start with the mildest practical method:
Move to a specialized cleaner only when the buildup requires it and the product is approved for that surface.
Bathtub Cleaner Comparison by Material
Different bathtub materials require different levels of care, so use this table as a starting point rather than a substitute for the manufacturer’s instructions.
Bathtub Material
Safe Starting Point
Main Concern
Avoid
Acrylic
Mild soap + soft sponge or cloth
Scratches and dulling
Steel wool, scouring pads, abrasive cleaners
Fiberglass
Mild soap + soft sponge
Scratching and surface dullness
Rough scrubbers and abrasive powders
Porcelain / Enamel
Mild soap + non-abrasive sponge
Scratches, chips, finish damage
Steel wool, metal scrapers, aggressive cleaners
Natural Stone
pH-neutral stone cleaner + soft cloth
Acid damage and surface etching
Vinegar and other acidic cleaners unless approved
Manufacturer guidance supports using non-abrasive methods on acrylic and certain enameled bath surfaces, while natural stone care generally calls for products appropriate to the stone and avoidance of unsuitable acids or abrasives.
How to Clean Different Bathtub Materials
The safest bathtub-cleaning method changes according to the surface, so identify the material before treating heavy buildup.
How to Clean an Acrylic Bathtub
Acrylic bathtubs should be cleaned with non-abrasive products and soft tools to reduce scratching and dulling.
Start with warm water and mild liquid soap or a cleaner labeled safe for acrylic. Use a soft damp sponge or cloth, wipe gently, rinse thoroughly, and dry the surface.
Avoid steel wool, rough scouring pads, metal scrapers, abrasive powders, and harsh solvents unless the manufacturer specifically approves them.
KOHLER and Sterling both advise against abrasive materials for acrylic bath surfaces.
Professional cleaning tip: If an acrylic tub still looks cloudy after cleaning, check for leftover product residue or mineral film before increasing the scrubbing pressure. More abrasion can make a finish problem worse.
How to Clean a Fiberglass Bathtub
Fiberglass tubs should be cleaned gently with mild soap, warm water, and a soft sponge or cloth.
Clean one section at a time, rinse frequently, and avoid trying to remove stubborn marks by scrubbing harder.
For heavier buildup, use a fiberglass-safe product according to its label rather than automatically switching to a stronger general-purpose chemical.
How to Clean a Porcelain or Enamel Bathtub
Porcelain and enamel surfaces can be durable, but the finish can still be scratched, chipped, or dulled by inappropriate cleaning tools.
Use warm water, mild liquid soap, and a non-abrasive sponge or soft cloth for routine cleaning.
Avoid steel wool, wire brushes, metal scrapers, and harsh products that are not approved for the finish.
If the enamel is chipped and the underlying metal is exposed, cleaning alone will not repair the damaged area.
How to Clean a Natural Stone Bathtub
Natural stone requires a different approach because acidic cleaners can damage some stone surfaces.
Use a pH-neutral cleaner designed for the particular stone and apply it with a soft cloth or sponge. Avoid vinegar and other acidic products unless the stone manufacturer’s instructions specifically permit them.
When the stone type is unknown, identify it before using a new cleaner.
How to Remove Soap Scum From a Bathtub
Soap scum is easiest to remove when the residue is softened before scrubbing rather than attacked with excessive force.
Start with warm water and a mild liquid soap or bathtub-safe cleaner. Apply the product to the affected area and allow it to work according to its instructions.
Use a soft sponge to clean the waterline, lower walls, corners, ledges, and areas around fixtures.
Rinse completely and repeat the treatment when necessary.
For heavy buildup, several controlled applications are generally preferable to using a rough scrubber that can damage the finish.
How to Remove Hard-Water Stains From a Bathtub
Hard-water stains are mineral deposits that often appear as white, gray, chalky, or cloudy marks where water repeatedly dries.
Start with mild soap and water. If the deposits remain, use a mineral-deposit cleaner specifically approved for the bathtub material.
Do not assume vinegar is safe simply because it is a common household cleaning ingredient. Acidic products can be unsuitable for some natural stone surfaces, finishes, and fixtures.
When the manufacturer permits an acidic cleaner, follow the product’s dilution, contact-time, rinsing, and safety instructions carefully.
How to Remove Rust and Yellow Stains From a Bathtub
Rust and yellow bathtub stains require different treatments depending on whether the discoloration comes from minerals, corrosion, product residue, age, or damage to the finish.
Clean the area first with mild soap and water.
If the mark remains, identify the tub material and use a stain remover specifically approved for both the stain and the surface.
Do not use steel wool or metal tools to scrape away rust, particularly on acrylic, fiberglass, or coated surfaces.
A yellow stain that returns quickly may indicate a continuing source such as mineral-rich water, corrosion, moisture, or deterioration of the finish rather than inadequate cleaning.
How to Clean Bathtub Fixtures, the Drain, and Caulk
The bathtub is not completely clean if buildup remains around the fixtures, drain, or joints.
How to Clean Bathtub Faucets and Fixtures
Wipe faucets, handles, spouts, drains, and overflow plates with a soft damp cloth and mild soap.
Rinse and dry fixtures promptly, especially when they have plated, brushed, painted, or decorative finishes.
Do not leave vinegar or another acidic cleaner on a fixture unless its manufacturer specifically allows that product.
When cleaning around openings, apply the product to the cloth instead of spraying directly into gaps.
How to Clean the Bathtub Drain
Remove visible hair and residue from the drain cover and surrounding area without pushing debris deeper into the plumbing.
Use gloves and a small soft brush for the visible surface.
A slow or blocked drain is a plumbing issue as well as a cleaning concern, so follow the drain manufacturer’s instructions rather than experimenting with multiple chemical treatments.
Never mix drain cleaners or other household chemicals.
How to Clean Bathtub Caulk and Grout
Use mild detergent, water, and a soft brush for routine cleaning of caulk and grout.
Pay attention to corners and wall joints because these areas can stay damp longer than the rest of the tub.
Replace caulk when it is cracked, separated, missing, or no longer forms a reliable seal. Cleaning can remove surface residue, but it cannot repair failed caulk.
If grout is cracked, crumbling, or missing, repair may be more appropriate than increasingly aggressive cleaning.
How to Clean Mold and Mildew Around a Bathtub
Small areas of mold on hard bathroom surfaces should be cleaned with detergent and water and then dried completely while the underlying moisture problem is corrected.
The EPA recommends fixing leaks and other water problems, cleaning mold from hard surfaces with detergent and water, and drying the area completely. It also notes that porous materials may be difficult or impossible to clean completely when mold grows inside them.
To reduce recurring moisture around a bathtub:
Run the bathroom exhaust fan during and after bathing.
Improve ventilation where practical.
Dry wet surfaces instead of leaving standing water.
Repair leaking plumbing or fixtures.
Address recurring condensation.
Do not simply paint or caulk over mold.
The EPA emphasizes that controlling moisture is central to controlling recurring indoor mold growth.
For extensive mold growth or water damage, follow appropriate professional remediation guidance rather than treating the problem as routine bathtub cleaning.
Can You Use Vinegar to Clean a Bathtub?
Vinegar can help with certain mineral deposits, but it is not a universal bathtub cleaner and should only be used when the manufacturer allows acidic cleaners on that surface.
Vinegar may be unsuitable for natural stone and some finishes or fixtures.
When the tub material is unknown, use the manufacturer’s care instructions instead of relying on a generic vinegar recipe.
Can You Use Baking Soda on a Bathtub?
Baking soda is mildly abrasive, so its suitability depends on the bathtub finish.
It may be acceptable for some durable surfaces when used gently, but aggressive rubbing can create problems on finishes that scratch or dull easily.
For acrylic and other delicate surfaces, start with a non-abrasive cleaner and soft sponge unless the manufacturer provides different instructions.
Can You Use Bleach to Clean a Bathtub?
Bleach should not be treated as a general-purpose bathtub cleaner and should only be used when the product label and surface manufacturer’s instructions permit it.
Routine dirt and soap residue generally do not require bleach. When disinfecting is specifically necessary, clean the surface first and follow the disinfectant label carefully. The CDC also states that household bleach should never be mixed with other cleaners or disinfectants because dangerous vapors can be released.
Provide good ventilation and use the protective equipment recommended on the product label.
What Not to Use When Cleaning a Bathtub
The biggest bathtub-cleaning mistake is using a product or tool that is too aggressive for the finish.
Avoid using the following unless the manufacturer specifically approves them:
Steel wool
Metal scrapers
Wire brushes
Rough scouring pads
Abrasive powders on delicate surfaces
Strong acids on surfaces that do not permit them
Harsh solvents
Unidentified chemical mixtures
Multiple drain cleaners together
For acrylic surfaces, manufacturer guidance specifically warns against abrasive brushes and scouring pads.
The goal is to remove buildup without creating scratches, dull spots, chemical residue, or damage to the caulk and surrounding finishes.
Common Bathtub Cleaning Mistakes
Most bathtub-cleaning problems come from using the wrong product, the wrong tool, or too much pressure.
Using the Same Cleaner on Every Bathtub
Acrylic, fiberglass, enamel, porcelain, and natural stone may have different care requirements.
Scrubbing Harder Instead of Giving the Cleaner Time to Work
More pressure is not always more effective. If the buildup remains, repeat the approved treatment or choose a product designed for that type of residue and surface.
Leaving Cleaner on the Surface
Follow the product’s instructions for dwell time and rinsing. Do not allow a cleaner to dry on the surface unless its label says that is appropriate.
Ignoring the Areas Around the Tub
A quick basin wipe does not address the drain cover, faucet bases, overflow plate, caulk, corners, or ledges.
Treating Mold Without Addressing Moisture
Recurring mold often means there is an ongoing moisture problem. The EPA recommends correcting leaks and moisture sources along with cleaning affected hard surfaces.
Mixing Cleaning Products
Never mix bleach with other cleaners or disinfectants.
How Often Should You Clean a Bathtub?
A regularly used bathtub benefits from a thorough cleaning at least once a week, with quick rinsing or wiping between deeper cleanings.
Your ideal schedule depends on how often the tub is used, the number of people using it, water hardness, ventilation, and how quickly soap residue accumulates.
A practical routine is:
Frequency
What to Do
After bathing
Rinse away fresh soap and product residue
Several times a week
Wipe wet ledges, corners, and fixtures when needed
Weekly
Clean the full tub, drain cover, fixtures, and surrounding areas
As needed
Treat hard-water deposits, soap scum, rust, stains, or mold
Regular light maintenance reduces the amount of heavy buildup that needs to be removed later.
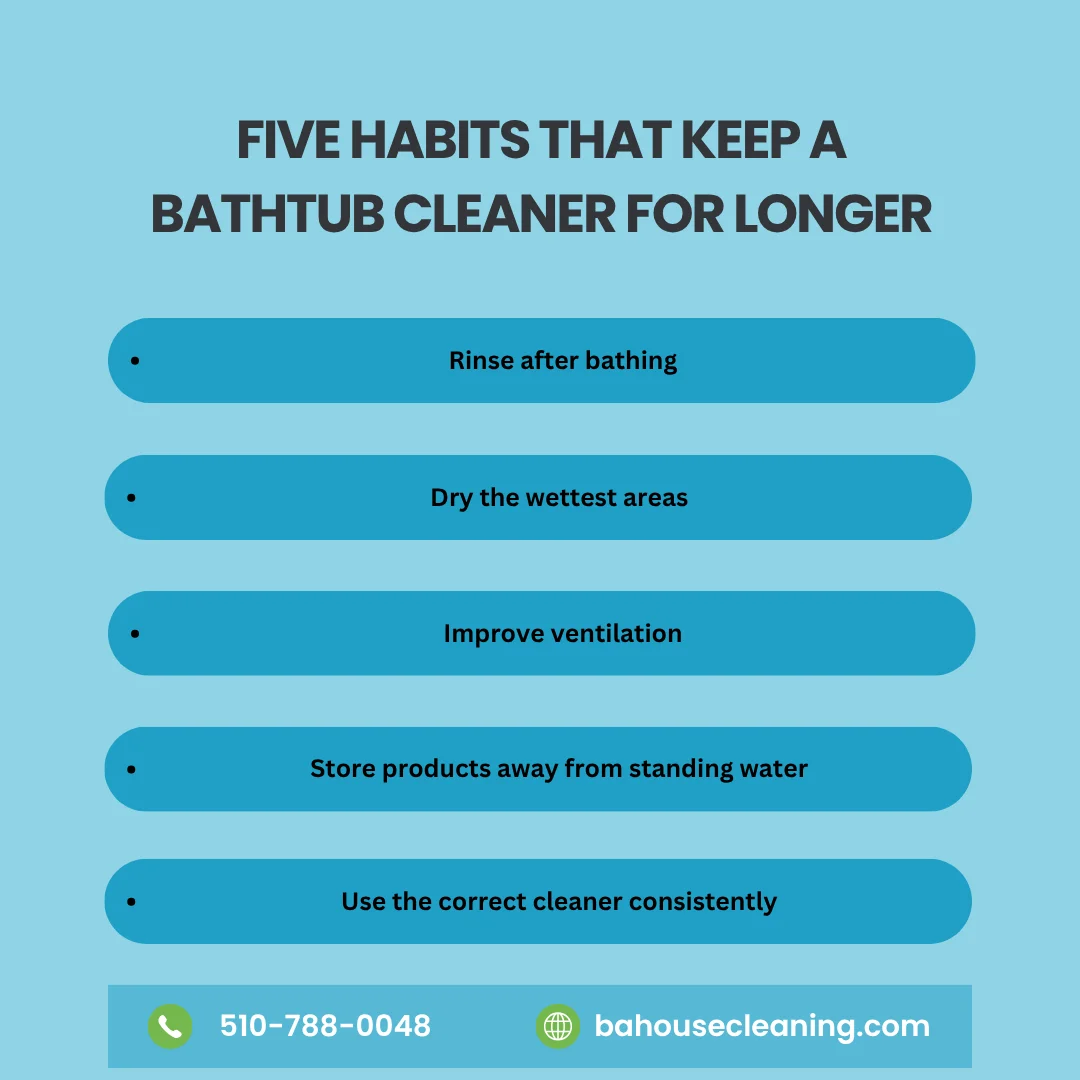
How to Keep Your Bathtub Clean for Longer
The easiest way to reduce difficult bathtub buildup is to remove fresh residue before it dries.
Rinse After Use
A quick rinse helps remove soap, shampoo, bath products, and loose residue from the surface.
Dry the Wettest Areas
Wipe ledges, corners, fixtures, and areas around the drain with a microfiber cloth.
Keep Bottles Off Standing Water
Shampoo and soap containers can trap moisture and leave rings or residue underneath them.
Improve Bathroom Ventilation
Run the exhaust fan during and after bathing to help reduce lingering moisture. The EPA recommends ventilation and moisture control as part of preventing recurring bathroom mold.
Use the Correct Cleaner Consistently
Keep a material-approved cleaner available instead of switching repeatedly between strong household remedies.
Clean Small Areas Before Buildup Becomes Heavy
A few minutes of routine maintenance is easier and gentler on the finish than aggressive scrubbing after months of accumulated soap film.
When Bathtub Cleaning Is Not Enough
Cleaning cannot repair every bathtub problem, and continuing to scrub a damaged surface can sometimes make the appearance worse.
Consider repair or specialized service when you notice:
Cracked or missing caulk
Chipped enamel
Exposed metal
Deep scratches
Persistent leaks
A recurring slow drain
Water damage
Mold that keeps returning
Discoloration that appears to be inside the finish
A damaged or deteriorating bathtub surface
A cleaner can remove household soil and buildup, but plumbing repairs, refinishing, structural damage, and extensive mold remediation require the appropriate specialist.
When to Hire a Professional House Cleaner
Professional house cleaning can be useful when bathtub buildup is part of a larger bathroom or whole-home cleaning problem.
If the tub has heavy soap residue, dusty fixtures, dirty tile, buildup around the shower, or neglected bathroom surfaces, cleaning only the bathtub may not provide the complete reset the room needs.
BA House Cleaning providesDeep Cleaning Services for homes in Oakland and the East Bay that need more detailed attention than routine maintenance.
For ongoing maintenance,Recurring Cleaning Services can help keep bathrooms and frequently used areas under control through regularly scheduled visits.
Professional house cleaning does not replace plumbing repair, bathtub refinishing, or mold remediation. It is most useful when the problem is ordinary household dirt, residue, dust, and accumulated buildup across multiple surfaces.
Why a Clean Bathtub Is Easier to Maintain When the Bathroom Is Clean
A bathtub is only one part of the bathroom, and buildup often appears on several surfaces at the same time.
Soap residue can remain on shower doors, tile, grout, sinks, fixtures, and nearby floors. Dust and moisture can also accumulate in corners and around bathroom accessories.
Cleaning the room as a system makes it easier to maintain individual surfaces because buildup is not simply being moved from one area to another.
For homes that need a more detailed reset, BA House Cleaning’s Deep Cleaning Services provide a broader cleaning approach. For regular upkeep, Recurring Cleaning Services can help maintain bathrooms and other frequently used areas over time.
Frequently Asked Questions About Cleaning a Bathtub
What is the best way to clean a bathtub?
The best way to clean a bathtub is to remove loose debris, rinse the surface, apply a material-safe cleaner, gently scrub with a non-abrasive sponge, rinse thoroughly, and dry the tub.
The exact cleaner should depend on whether the bathtub is acrylic, fiberglass, porcelain, enamel, natural stone, or another material.
How do I clean a bathtub without scratching it?
Use a non-abrasive cleaner and a soft sponge, cloth, or manufacturer-approved cleaning tool.
Avoid steel wool, wire brushes, metal scrapers, and rough scouring pads. Acrylic manufacturers in particular warn against abrasive cleaning materials.
How do I remove soap scum from a bathtub?
Apply a bathtub-safe cleaner or mild soap, allow it to loosen the residue according to the product directions, and wipe gently with a soft sponge.
Repeat the process when needed instead of increasing the scrubbing pressure.
How do I remove hard-water stains from a bathtub?
Start with mild soap and water. If mineral buildup remains, use a product specifically approved for the bathtub material.
Do not assume vinegar is safe for every surface, especially natural stone or specialty finishes.
Can I use vinegar to clean a bathtub?
Vinegar can be appropriate for some bathtub surfaces when the manufacturer permits acidic cleaners, but it is not a universal bathtub cleaner.
Avoid using it on natural stone and on any finish or fixture whose care instructions prohibit acidic products.
Can I use baking soda on an acrylic bathtub?
Baking soda is mildly abrasive, so it should not automatically be considered safe for acrylic.
For routine acrylic cleaning, a mild non-abrasive product and soft sponge are the safer starting point unless the manufacturer provides different instructions.
How do I clean a fiberglass bathtub without scratching it?
Use warm water, mild soap, and a soft sponge or cloth.
Avoid steel wool, abrasive powders, rough pads, stiff brushes, and other tools that may scratch or dull the fiberglass finish.
How often should you clean a bathtub?
For a regularly used bathtub, a thorough weekly cleaning is a practical schedule.
Rinse or wipe the tub between deeper cleanings, particularly when soap residue and water spots appear quickly.
Why do bathtub stains keep coming back?
Recurring bathtub stains may be caused by hard water, rust, soap residue, standing moisture, leaking fixtures, mold-related moisture, or damage to the finish.
When a stain returns quickly after appropriate cleaning, look for the underlying source instead of repeatedly treating the same spot.
Can bleach damage a bathtub?
Bleach may be unsuitable for some bathtub materials and finishes, so only use it when the product label and manufacturer’s instructions permit it.
Never mix bleach with another cleaner or disinfectant because dangerous vapors can be released.
How do I clean mold around a bathtub?
For a small amount of mold on a hard surface, clean with detergent and water and dry the area completely.
The EPA recommends correcting leaks and other moisture sources along with cleaning affected hard surfaces.
When should bathtub caulk be replaced?
Replace bathtub caulk when it cracks, separates from the tub or wall, develops gaps, or no longer forms a reliable seal.
Cleaning can remove surface residue, but it cannot restore failed caulk.
How to Clean a Bathtub Safely
Learning how to clean a bathtub does not require the strongest chemical or the hardest scrubbing. The most reliable approach is to identify