
Kitchen cabinets can look clean from a distance but still feel sticky around the handles or show a film of cooking grease near the stove. Removing that buildup takes more than choosing a strong cleaner. The method must suit the cabinet material and its protective finish.
Effective kitchen cabinets cleaning starts with removing loose dust, using a compatible cleaner, limiting moisture, and drying the surface thoroughly. Wood, painted, laminate, and specialty finishes can react differently to cleaning products. Always check the manufacturer’s care instructions before treating the entire surface.
Choose a Cleaning Method That Matches Your Cabinets
Before reaching for a degreaser, identify the cabinet finish and check for peeling paint, swollen edges, lifting laminate, or other visible damage. If the surface is deteriorating, more intensive cleaning may make the problem worse.
| Cabinet surface | Recommended starting method | Important precaution |
| Finished wood | Use a soft cloth and a compatible mild cleaner | Avoid soaking the wood or leaving moisture around joints and edges |
| Painted cabinets | Wipe gently with a cleaner approved for the coating | Strong solvents and vigorous scrubbing may dull or damage the paint |
| Laminate cabinets | Use a suitable mild cleaner and a non-abrasive cloth | Keep liquid away from seams and damaged edges |
| Thermofoil or specialty finishes | Follow the manufacturer’s specific care instructions | Heat, harsh chemicals, and excess moisture may affect the surface or adhesive |
| Glass-front cabinets | Clean the glass with an appropriate glass cleaner and the frame with a compatible product | Keep excess liquid away from joints and surrounding finishes |
These are starting points rather than universal rules. If you cannot identify the material or finish, check the manufacturer’s guidance before cleaning.
For most routine cabinet cleaning, gather soft microfiber cloths, warm water, a mild dish soap solution if permitted, a separate cloth for removing residue, and a dry cloth. A soft brush or suitable vacuum attachment can help remove dust from accessible grooves and corners.
Avoid abrasive pads, scouring powders, untested degreasers, and products that promise to restore shine without specifying whether they are appropriate for your finish. Test unfamiliar cleaners on a small, hidden area and allow it to dry before checking for changes in color, sheen, or texture.
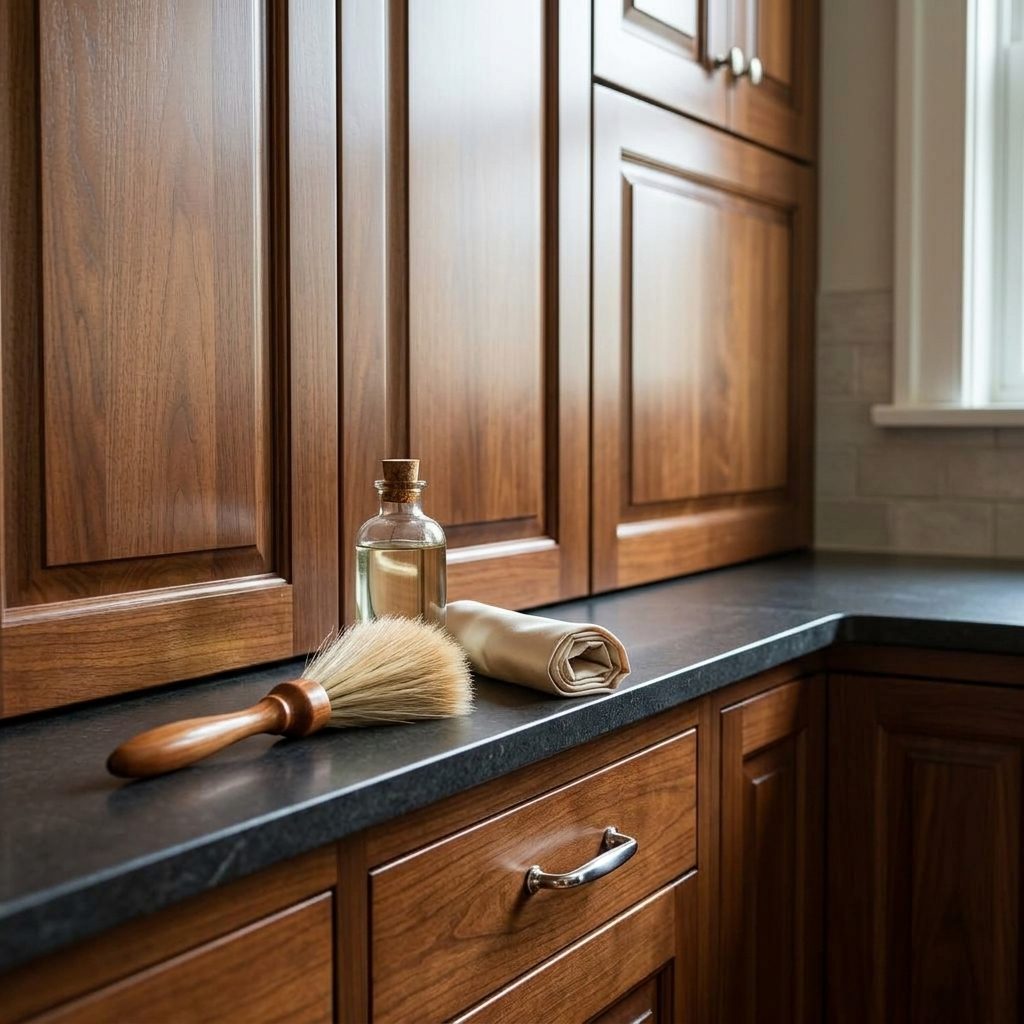
How to Clean Cabinet Doors and Handles
Cabinet doors collect fingerprints and splashes, while handles and drawer pulls receive frequent contact. Cleaning these areas methodically helps remove everyday residue without putting unnecessary stress on the finish.
1. Remove loose dust
Wipe the doors, drawer fronts, frames, and accessible edges with a dry microfiber cloth. Removing loose particles first helps prevent grit from being dragged across the surface.
Pay attention to decorative grooves and the lower edges of doors. Use a soft brush only if it is suitable for the finish.
2. Wipe with a compatible cleaner
If the manufacturer permits mild soapy water, prepare a lightly diluted solution. Dampen a clean cloth and wring it out thoroughly so it is not dripping.
Work on one door or a small section at a time. Apply gentle pressure and avoid spraying cleaner directly onto the cabinet unless the manufacturer’s instructions specifically recommend it.
3. Clean around handles and edges
Wipe around knobs, pulls, and frequently touched areas where oils and grime tend to collect. Turn the cloth to a clean section as it becomes dirty.
If marks remain, repeat the gentle process rather than immediately switching to a stronger chemical. Avoid allowing liquid to accumulate around hardware openings, seams, or exposed edges.
4. Remove residue and dry
Follow the cleaner’s instructions for removing residue. When a separate wipe is appropriate, use a clean cloth lightly dampened with water.
Finish with a dry cloth, paying particular attention to seams and lower edges. Do not leave water sitting on the cabinet or allow it to pool around hardware.
How to Remove Sticky Grease From Kitchen Cabinets
Cooking oils can settle on cabinet doors and combine with dust, leaving a sticky film that ordinary dusting will not remove. The buildup is often more noticeable near the stove, range hood, and frequently handled doors.
The goal is to loosen the residue gradually without damaging the finish.
Start with a mild, compatible cleaner
Check that the cabinet surface is intact, then use a compatible mild cleaner on a soft, well-wrung cloth. Test it in a hidden area first, particularly on painted, glossy, older, or unidentified finishes.
Wipe the greasy area gently. Repeat with a clean section of the cloth if necessary rather than scrubbing harder.
Use a stronger product only when appropriate
If the residue persists, consult the cabinet manufacturer’s care instructions for a suitable degreaser. Check the product label and test it in an inconspicuous spot before applying it to a larger area.
Do not let cleaning solution remain on the surface longer than the product instructions allow. Avoid scraping grease with sharp tools or using rough pads to force it off.
Finish by removing residue and drying
Wipe away the cleaner as directed, then dry the cabinet thoroughly. Inspect the area after it has dried under good lighting.
If the surface remains sticky, becomes discolored, or develops an uneven sheen, stop and identify the cause before trying stronger chemicals. Persistent marks may indicate a damaged finish rather than removable grease.
Important: Vinegar, baking soda, bleach, and general-purpose degreasers are not automatically safe for every cabinet. Abrasive powders can scratch delicate surfaces, and unsuitable chemicals may affect certain coatings. Never mix cleaning products.
How to Clean Inside Kitchen Cabinets and Drawers
Interior cleaning is different from wiping the cabinet exterior. Shelves and drawers can collect crumbs, spilled food, dust, and residue beneath