How to Clean a Coffee Maker: Daily Cleaning and Descaling Guide

Professional Cleaning Services

Click here to schedule your cleaning and enjoy a spotless space.

A coffee maker may look clean from the outside while coffee oils, water spots, loose grounds, and mineral deposits gradually collect inside its removable parts and internal water system. Over time, this buildup can affect the way the machine operates and may leave coffee tasting bitter, stale, or different from the flavor you normally expect.

Learning how to clean a coffee maker involves more than rinsing the carafe after breakfast. The filter basket, lid, water reservoir, warming plate, reusable filter, exterior controls, and internal brewing system all require different types of care. Some parts need washing after every use, while the internal system may require a separate descaling cycle based on the manufacturer’s instructions.

At BA House Cleaning, we understand that small kitchen routines can make a noticeable difference in how clean and comfortable the complete room feels. Regularly cleaning the coffee station, removing spills, and wiping surrounding countertops can prevent sticky residue and scattered grounds from becoming part of a larger kitchen mess.

This guide explains how to clean a drip coffee maker, wash the carafe and removable components, remove mineral buildup, use vinegar safely, clean without vinegar, care for a single-serve brewer, and avoid common mistakes that may damage the machine.
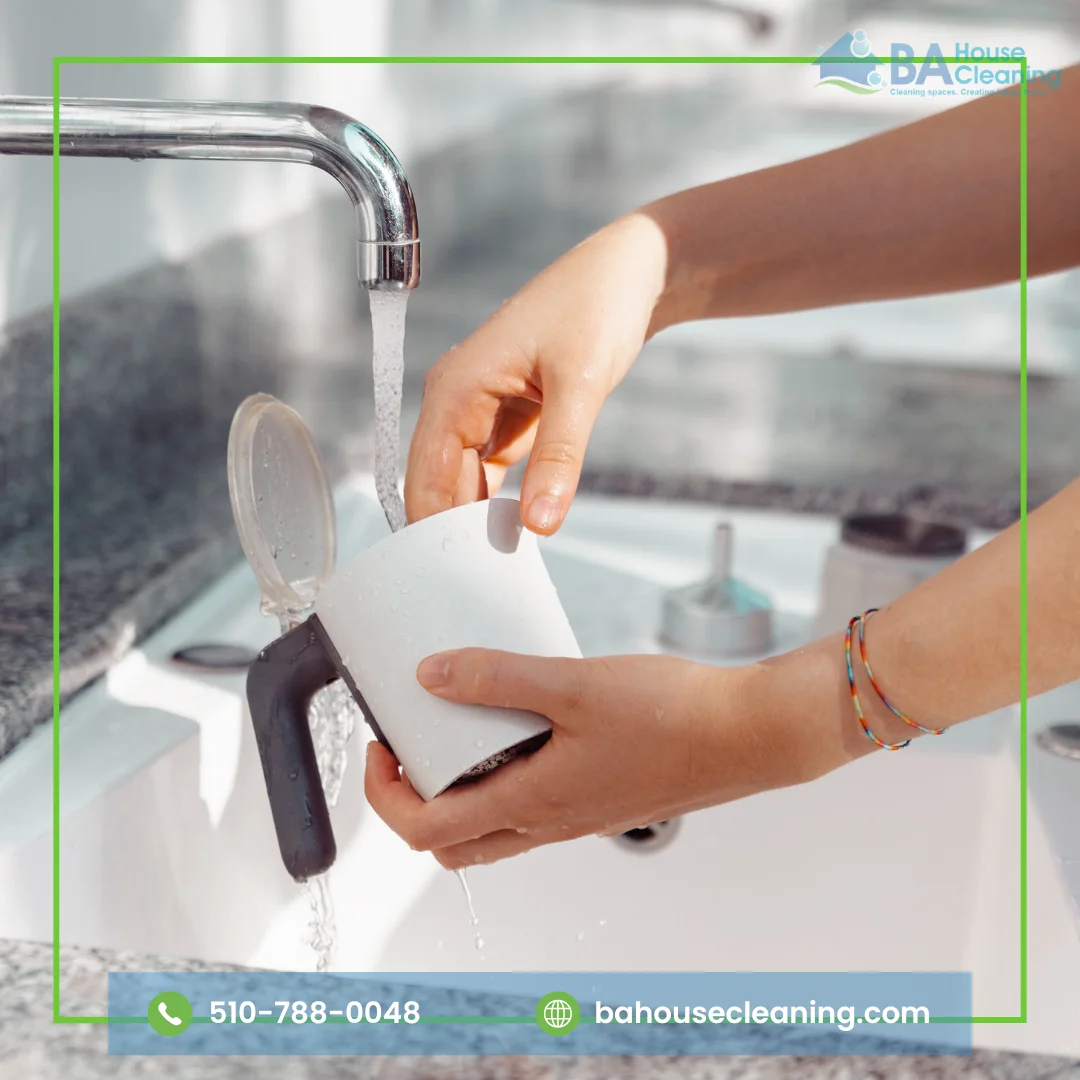
How to Clean a Coffee Maker

Why Coffee Makers Need Regular Cleaning

Every brewing cycle brings coffee grounds, natural oils, heat, and water into contact with different parts of the machine. Grounds may collect around the basket, while brewed coffee can drip onto the warming plate or exterior. Water also leaves minerals behind as it moves through the reservoir, tubes, and heating system.

These types of buildup require different cleaning methods. Warm water and dish soap can remove coffee residue from washable components, but they cannot always reach mineral deposits inside the internal water pathway. That is why a complete coffee maker cleaning routine includes both surface cleaning and periodic descaling.

Cuisinart explains that coffee oils, residue, and hard-water deposits can affect flavor, brewing speed, and the machine’s operation. Its guidance separates washing the carafe and filter basket from descaling the internal system.

Cleaning Versus Descaling a Coffee Maker

Cleaning and descaling are related, but they do not solve the same problem.

  • Routine Cleaning

Routine cleaning removes visible coffee grounds, spills, oils, stains, and residue from accessible components. It normally covers the carafe, lid, brew basket, reusable filter, removable water reservoir, warming plate, and exterior surfaces.

The parts that come into direct contact with coffee should receive the most frequent attention because oils and damp grounds can remain behind after brewing.

  • Descaling

Descaling targets mineral deposits left by the water used in the machine. These deposits may develop inside the reservoir, tubing, heating system, or other areas that a cloth cannot reach.

A descaling cycle usually involves running a manufacturer-approved solution through the machine without coffee grounds. Depending on the model, the recommended product may be diluted vinegar or a branded descaling solution.

Because coffee makers vary, always check the manual before selecting a solution or starting a cleaning cycle.

What You Need Before Cleaning

Gathering the right supplies helps you clean the machine without using harsh or unsuitable products.

You may need:

  • Warm water.
  • Mild, unscented dish soap.
  • A soft sponge or microfiber cloth.
  • A small soft-bristled brush.
  • White distilled vinegar, when approved for the model.
  • A manufacturer-approved descaling solution.
  • A clean, dry towel.
  • A paper coffee filter, when required for the cleaning cycle.

Avoid steel wool, abrasive scouring pads, sharp tools, bleach, and commercial oven cleaners. These products may scratch removable components, damage finishes, or leave unwanted residue.

Unplug the machine and allow it to cool before cleaning the exterior, warming plate, or removable parts. Never immerse the electrical base, power cord, or plug in water.

How to Clean a Coffee Maker After Every Use

A quick cleaning after brewing prevents grounds and coffee oils from remaining inside the machine until the next day.

Once the coffee maker cools, remove the used paper filter and grounds. Empty and rinse the carafe, then wash the brew basket, reusable filter, and lid if the manufacturer identifies them as washable.

Use warm water, mild dish soap, and a soft sponge. Rinse each component thoroughly so no soap remains, then allow the parts to dry before returning them to the machine.

Wipe coffee drips from the warming plate and surrounding exterior with a damp cloth. Apply the water to the cloth rather than pouring or spraying it directly onto electrical components.

How to Clean the Coffee Carafe

The carafe often develops a brown film when coffee remains inside for several hours or when the pot receives only a quick rinse after use.

Start by washing the carafe with warm water, mild dish soap, and a non-abrasive sponge. Pay attention to the pouring lip, underside of the lid, handle connection, and corners where coffee may collect.

For a stubborn stain, add warm water and a small amount of baking soda to the carafe. Allow it to sit briefly, then clean the surface gently with a soft sponge or bottle brush. Rinse several times before using the carafe again.

Avoid sudden temperature changes with a glass pot. Do not pour cold water into a hot carafe because thermal shock may crack the glass.

Cuisinart recommends washing the carafe and filter basket with warm soapy water and identifies a baking soda paste as an option for deeper carafe stains.

How to Clean the Brew Basket and Reusable Filter

The brew basket and reusable filter come into direct contact with wet coffee grounds and oils. When residue remains in the small openings, it may interfere with drainage or carry an old flavor into the next pot.

Remove both parts according to the manual. Empty all loose grounds, rinse the pieces, and wash them with warm water and mild dish soap.

Use a soft brush to reach mesh, corners, or narrow openings without bending or puncturing the filter. Rinse carefully and allow the components to dry completely.

Check whether the manufacturer allows dishwasher cleaning. A removable part may look dishwasher-safe but still require hand washing, so rely on the model instructions rather than appearance.

How to Clean the Water Reservoir

Empty standing water when the coffee maker will not be used for an extended period. A removable reservoir can usually be washed more thoroughly than a fixed one, but the correct method depends on the machine.

When the reservoir is removable and washable, use mild soap, warm water, and a soft cloth. Rinse it well so no detergent remains.

For a fixed reservoir, wipe only the accessible areas with a clean damp cloth. Do not pour dish soap directly into the internal water system unless the manufacturer specifically instructs you to do so.

Avoid using baking soda in a non-removable reservoir because undissolved particles may remain inside the machine. Baking soda is better suited to accessible surfaces such as the carafe.

How to Clean a Drip Coffee Maker with Vinegar

White vinegar can help remove mineral deposits from many traditional drip coffee makers, but the correct water-to-vinegar ratio varies by brand and model.

Before starting:

  • Empty the carafe.
  • Remove the coffee grounds.
  • Wash the basket.
  • Remove a charcoal water filter when the manual requires it.
  • Check that the manufacturer permits vinegar.

Fill the reservoir with the recommended vinegar-and-water solution. Place the empty carafe beneath the basket and run the machine without coffee grounds.

Some models complete the process in one cleaning cycle. Others instruct the user to pause halfway, allow the solution to sit, and then finish the cycle.

Afterward, empty and rinse the carafe. Fill the reservoir with clean water and run one or more full brewing cycles until the vinegar smell disappears.

Cuisinart’s official coffee maker cleaning guide recommends checking the individual manual because its models may use different vinegar ratios and cleaning functions. The company also recommends running a fresh-water cycle after descaling.

Can You Use Undiluted Vinegar?

Do not assume that stronger vinegar will provide better results. Undiluted vinegar may leave a powerful odor and may not match the manufacturer’s instructions for the machine.

Some coffee makers use a three-parts-water-to-one-part-vinegar mixture, while others use different amounts. Certain manufacturers prefer a dedicated descaling solution instead.

Follow the instructions for the exact machine rather than applying a universal ratio from a general cleaning article. This is particularly important for machines with filters, sensors, pumps, specialized tubing, or built-in cleaning programs.

How to Clean a Coffee Maker Without Vinegar

Some people dislike the smell of vinegar, while some manufacturers recommend a branded descaling product instead.

To clean a coffee maker without vinegar, use the descaling solution listed in the appliance manual. Measure and dilute the product exactly as directed, run the required cleaning cycle, and complete all recommended rinsing cycles.

Do not replace a commercial descaler with lemon juice, citric acid, bleach, dishwashing liquid, or baking soda unless the manufacturer approves that substitute.

Baking soda can help clean an accessible carafe, but running it through internal tubing may leave particles behind when it does not dissolve completely.

The safest vinegar-free option is the product and method approved for the specific coffee maker.

How to Clean a Single-Serve Coffee Maker

Single-serve brewers include components that differ from a traditional drip machine. These may include a pod holder, entrance needle, exit needle, removable drip tray, water reservoir, and replaceable water filter.

Unplug the brewer and allow it to cool. Remove and wash the drip tray, reservoir, lid, and pod holder when the manufacturer permits it.

Coffee grounds may collect around the pod holder and needles. Follow the manual’s procedure carefully because these needles are sharp and may require a special maintenance tool.

Descale the internal water system according to the brewer’s instructions. Keurig states that descaling removes calcium deposits from parts that come into contact with water and provides model-specific procedures for activating the correct descaling cycle.

Avoid copying the button sequence from a different brewer. Even machines from the same company may use different controls and descaling modes.

How to Clean a Coffee Maker with a Grinder

A grind-and-brew coffee maker requires additional care because coffee oils and fine grounds may remain inside the grinder, chute, and basket.

Unplug the machine before cleaning the grinder area. Remove loose grounds using the brush supplied with the appliance or another manufacturer-approved tool.

Do not introduce water into a grinder unless the manual identifies the component as removable and washable. Moisture inside the grinding mechanism may cause grounds to clump or affect electrical parts.

Wash the removable brew basket and carafe separately, then clean and descale the brewing system according to the model instructions.

How to Remove Coffee Odors

Old coffee smells often come from damp grounds, residue inside the basket, coffee left in the carafe, or spills on the warming plate.

Empty the grounds immediately after brewing and wash all removable coffee-contact components. Clean beneath the filter basket and around the carafe lid, where residue may remain less visible.

A small amount of baking soda can help deodorize a washable carafe, but rinse it thoroughly afterward.

Avoid masking the smell with perfume, essential oils, or heavily scented cleaners. Any product used on coffee-contact surfaces should rinse away completely.

Signs Your Coffee Maker Needs Descaling

A calendar provides a useful reminder, but the way the machine operates may also indicate mineral buildup.

Common signs include:

  • Brewing takes longer than usual.
  • The machine produces less coffee than expected.
  • Water flow appears uneven.
  • The brewer makes unfamiliar sounds.
  • A clean or descale indicator appears.
  • Coffee develops an unusual flavor despite fresh grounds.
  • White mineral residue appears around accessible water-contact areas.

These signs may have causes other than scale. Stop using the machine and contact the manufacturer when you notice leaking, electrical odors, sparks, damaged wiring, or repeated error messages.

How Often Should You Clean a Coffee Maker?

Clean the carafe, filter basket, lid, and reusable filter after each use or according to the appliance manual. Wipe the warming plate and exterior whenever you notice drips or loose grounds.

Descaling frequency depends on water hardness, brewing frequency, the machine’s design, and whether it uses a water filter. Cuisinart recommends descaling some machines every one to three months depending on water hardness, while Mr. Coffee advises cleaning selected models every 40 to 80 brewing cycles. Keurig commonly recommends descaling supported brewers every three to six months or when the descale indicator appears.

These schedules are general brand guidance, not universal rules. Follow the manual and indicator lights for the specific model.

Common Coffee Maker Cleaning Mistakes

Avoid these mistakes when cleaning or descaling the machine:

  • Starting before the coffee maker cools.
  • Immersing the electrical base or power cord in water.
  • Running dish soap through the internal brewing system.
  • Using vinegar without checking the manual.
  • Forgetting to remove the water filter before descaling.
  • Brewing coffee before completing the rinse cycles.
  • Scrubbing the carafe with steel wool.
  • Cleaning grinder components with water when they are not washable.
  • Returning wet parts to the machine.
  • Ignoring a persistent leak or electrical smell.

A cleaning method should match both the type of machine and the manufacturer’s recommendations.

Keep the Complete Coffee Station Cleaner

Cleaning the brewer is easier when the surrounding coffee station also receives regular attention. Grounds may spread across countertops and floors, while coffee, milk, sweeteners, and water may leave sticky marks on cabinet fronts, handles, and nearby appliances.

BA House Cleaning’s Recurring Cleaning Services help Oakland and East Bay homeowners maintain kitchens and other frequently used areas through weekly, biweekly, or monthly appointments. The service page states that standard cleaning can include kitchen counters, sinks, appliance exteriors, stovetops, floors, and other routine household surfaces.

Professional house cleaning does not replace the internal maintenance required by the coffee maker’s manufacturer. It can, however, help keep the surrounding kitchen cleaner and reduce the everyday buildup that develops around a busy coffee station.

Five Habits That Make Coffee Maker Cleaning Easier

A consistent routine prevents small spills and loose grounds from turning into stubborn buildup:

  • Empty grounds after brewing: Remove the used filter and wet coffee grounds instead of leaving them inside the basket for several hours.
  • Wash coffee-contact parts regularly: Clean the carafe, lid, filter basket, and reusable filter according to the manufacturer’s instructions.
  • Wipe spills while they are fresh: Allow the warming plate to cool, then remove coffee drips before heat causes them to dry onto the surface.
  • Follow a descaling schedule: Use the appliance manual, water hardness, brewing frequency, and descale indicator to decide when the internal system needs attention.
  • Complete every rinse cycle: After using vinegar or descaling solution, run the required fresh-water cycles before brewing coffee again.

These habits create a simpler coffee maker cleaning routine and help keep the brewer, carafe, and surrounding coffee station easier to manage.

How to Clean a Coffee Maker

Start Every Morning with a Cleaner Kitchen

A clean coffee maker supports a fresher morning routine, but it represents only one small part of the kitchen. Counters, floors, cabinet fronts, sinks, and frequently touched surfaces also require consistent attention throughout the week.

Connect with BA House Cleaning on Facebook to learn more about dependable home cleaning in Oakland and the East Bay. Build a recurring schedule that keeps your kitchen and living spaces cleaner, more comfortable, and ready for everyday use.

Frequently Asked Questions

  • What is the best way to clean a coffee maker?

Wash the removable coffee-contact parts with warm water and mild dish soap, wipe the exterior, and descale the internal water system according to the manufacturer’s instructions. The correct descaling solution and frequency depend on the model.

  • Can I clean a coffee maker with vinegar?

Many drip coffee makers allow diluted white vinegar, but not every machine follows the same ratio or procedure. Check the manual before adding vinegar to the reservoir, then complete all required fresh-water rinses.

  • How do I descale a coffee maker?

Empty the machine, remove filters when instructed, add the approved descaling solution, and run the designated cleaning or brewing cycle. Rinse the reservoir and complete the recommended water-only cycles afterward.

  • How often should I descale my coffee maker?

The schedule depends on the model, water hardness, and brewing frequency. Some manufacturers recommend every one to three months, while others recommend every three to six months or when a descale light appears. Follow the manual for the specific brewer.

  • Can I use baking soda to clean a coffee maker?

Baking soda can help clean stains and odors from an accessible carafe. Avoid running it through internal tubing unless the manufacturer specifically approves the method, because undissolved material may remain inside the machine.

  • How can I clean a coffee maker without vinegar?

Use the branded or manufacturer-approved descaling solution listed in the manual. Follow the dilution, cycle, and rinsing instructions exactly.

  • Why does my coffee taste bitter after cleaning the machine?

Cleaning solution may remain inside the water system when the machine has not completed enough rinse cycles. Run the manufacturer-recommended fresh-water cycles and wash the carafe and filter basket again before brewing.

  • Should I wash the coffee carafe after every use?

Regular washing helps remove coffee oils and prevents stains from building up. Use warm water, mild dish soap, and a soft sponge unless the manufacturer provides different instructions.

  • Can coffee maker parts go in the dishwasher?

Some carafes, lids, reservoirs, and filter baskets are dishwasher-safe, while others require hand washing. Check the manual before placing any removable component in the dishwasher.

  • Why is my coffee maker brewing slowly?

Mineral buildup may restrict water flow, but slow brewing can also have other causes. Descale the machine according to its instructions. Contact the manufacturer if the problem continues after cleaning.

Professional Cleaning Services

Click here to schedule your cleaning and enjoy a spotless space.

GET A CLEANING ESTIMATE 

WAIT, THERE'S MORE!