
Grout can make an otherwise clean tiled surface look dull, stained, or poorly maintained. Even when the tile itself looks bright, dark grout lines can change the appearance of an entire bathroom, kitchen, hallway, or entryway.
The challenge is that grout and tile do not always respond to cleaning in the same way. Many traditional cement-based grout joints can hold soil and residue more readily than glazed tile, while the surrounding surface may have its own cleaning restrictions.
Learning How to Clean Grout therefore starts with identifying the type of buildup you are dealing with instead of immediately reaching for the strongest cleaner available.
Bathroom grout commonly collects soap residue and moisture-related buildup. Kitchen grout may hold grease and food residue, while floor grout can gradually darken as soil and contaminated mop water settle into the joints.
This guide explains the best way to clean grout step by step, how to approach bathroom, kitchen, and floor grout, which DIY methods require caution, the mistakes that make grout harder to maintain, and when cleaning alone is no longer enough.
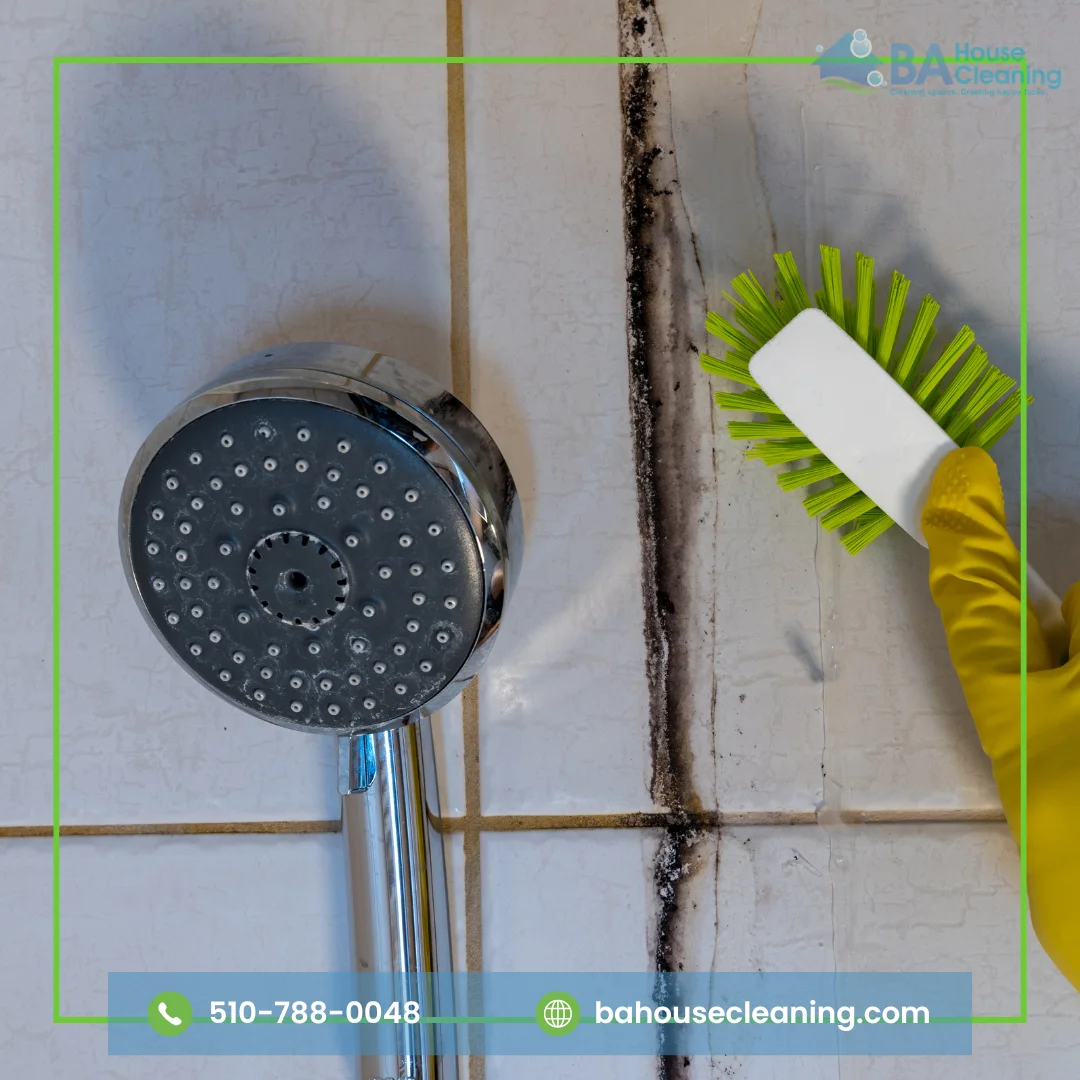
Why Does Grout Get Dirty So Quickly?
Grout fills the narrow joints between tiles, and depending on the grout system used, its surface may hold dirt and residue more easily than the tile around it.
Different rooms also create different types of contamination.
Bathroom grout may be exposed to:
- Water and humidity.
- Soap residue.
- Body oils.
- Hair and cosmetic products.
- Poor ventilation.
Kitchen grout may collect:
- Cooking grease.
- Food spills.
- Dust that sticks to oily residue.
- Cleaning-product buildup.
Floor grout often deals with:
- Soil tracked indoors.
- Dust.
- Pet debris.
- Dirty mop water.
- Residual detergent.
Understanding what caused the discoloration is important because grease, ordinary soil, soap residue, and recurring moisture problems do not always respond to the same method.
This is one of the most important grout cleaning tips to remember: diagnose the problem before choosing the cleaner.
How to Clean Grout Without Damaging Tile
The safest starting point is usually the least aggressive method that can remove the buildup.
Before adding water or cleaner, remove loose debris. On floors, vacuuming or sweeping first prevents dry soil from turning into dirty liquid that can settle deeper into the grout lines.
Then inspect the tile around the grout. Ceramic, porcelain, natural stone, polished surfaces, sealers, and specialty finishes can have different maintenance requirements.
Follow these basic rules:
- Begin with warm water or a mild cleaner suitable for the grout and tile.
- Use a nylon grout brush rather than a metal brush.
- Test unfamiliar products in a hidden area.
- Follow the manufacturer’s dilution and contact-time instructions.
- Work in manageable sections.
- Remove loosened dirt and contaminated cleaning solution.
- Rinse when the product instructions require it.
- Let the grout dry before judging the final color.
- Never mix household cleaning products.
The Tile Council of North America specifically emphasizes removing contaminated cleaning water from grout rather than simply moving dirty water over the surface. This helps explain why repeated mopping does not always improve dark grout lines. Read the TCNA guidance on cleaning grout.
How to Clean Grout Step by Step
For normal household dirt, you usually do not need to begin with aggressive chemicals.
Step 1: Remove Loose Dirt
Vacuum or sweep the tiled surface thoroughly.
Pay extra attention to:
- Corners.
- Wall edges.
- Grout joints.
- Areas under movable furniture.
- High-traffic zones.
Starting with a dry surface prevents loose soil from becoming muddy residue when cleaner is applied.
Step 2: Apply a Mild Grout-Compatible Cleaner
Apply warm water or a cleaning product suitable for both the grout and surrounding tile.
Work in small sections instead of covering the entire floor or shower at once. This gives you enough time to scrub and remove loosened soil before the solution dries.
Step 3: Allow the Product to Work
If the manufacturer’s instructions specify a contact time, allow the cleaner to remain on the surface for the recommended period.
More time is not automatically better. Leaving a product on longer than directed can expose the surface to unnecessary chemicals and may allow loosened residue to dry again.
Step 4: Scrub the Grout Lines
Use a nylon grout brush and controlled pressure.
Work along the grout joint rather than aggressively scrubbing the entire tiled surface.
For stubborn areas, repeat the process instead of immediately switching to an excessively abrasive tool.
Step 5: Remove the Dirty Cleaning Solution
This step is easy to overlook.
Once dirt has been loosened, wipe, extract, or otherwise remove the contaminated solutio